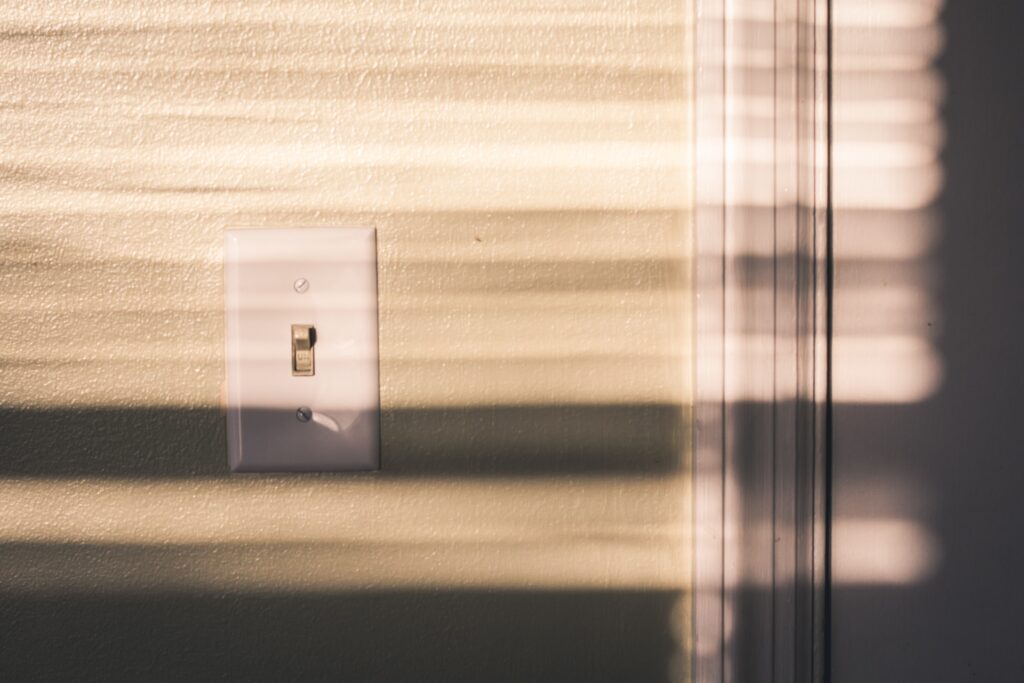
A dimmer switch is a simple and affordable solution to improve your lighting, whether you’re trying to set the mood or save energy. We’ll demonstrate how to install a dimmer switch in this article.
Before beginning, make sure you have the necessary equipment and supplies. In addition to a dimmer switch, you’ll also need a screwdriver, wire stripper, and a voltage tester. If the replacement switch does not come with any twist-on wire connectors, you might need to purchase some. The operation will go much more smoothly if you have these supplies on hand.
Step 1: Turn off the Power
Before you begin, make sure to power off the area before you begin the installation. Find and shut off the circuit breaker that regulates the power to your light switch. With your voltage tester, verify multiple times that the switch is not receiving any electricity. To ensure your personal safety and avoid catastrophic harm or worse, you must take this important action.
Step 2: Remove the Old Switch
When the power is turned off, take off the old switch’s cover plate and detach the bolts holding it to the electrical box. Disconnect the cables by gently prying the switch out of the box. Before connecting the new switch, make sure to label the wires with a piece of tape so you will know which wire belongs where. It’s crucial to follow this procedure to avoid confusing the wires while installing the new switch.
Step 3: Install the Dimmer Switch
It’s time to install the dimmer switch now that the old switch has been removed. Start by attaching the new switch’s wires to those in the electrical box. Use a twist-on wire connector to join the wires from the switch to the matching wires in the box if your dimmer switch already has wires attached to it. If your switch doesn’t already have wires attached, strip the ends of the box’s wires with a wire stripper to join the wires to the switch.
The switch’s black or red wire and the box’s black wire need to be linked. The switch’s white or gray wire and the box’s white wire need to be linked. The green or bare wire from the box needs to be attached to the switch’s green wire. To guarantee a strong connection, strongly tighten the wire nuts.
Step 4: Test the Dimmer Switch
It’s time to test the dimmer switch after the wires have been safely attached. Restart the power and flip the switch, being careful to keep your hands away from any exposed wires. Turn the switch to dim the light gradually to check the dimming capabilities. Turn the switch back off if everything is operating as it should.
Step 5: Attach the New Cover Plate
It’s time to attach the new cover plate after the dimmer switch has been set up and tested. Your new dimmer switch is now operational when you tighten the cover plate back onto the electrical box.
Extra Tips:
- Make a note of the wire connections before removing the old switch to avoid confusion. The wiring for the new switch will be simpler to attach
- Use a voltage tester to determine which wires are carrying electricity if you are unsure which wires are which. You can avert a potentially hazardous situation by doing this.
- It’s likely that the wiring in an older home won’t support a dimmer switch if you’re working with it. To find out if your home’s wiring can accommodate a dimmer switch, consult a qualified electrician.
- Be sure the dimmer switch you buy is appropriate for the kind of light fixture you intend to use it with. Make sure to check the compatibility before buying, for instance, as some dimmer switches are not designed for use with LED or fluorescent bulbs.
- It’s always preferable to consult a qualified electrician if you don’t feel confident dealing with electricity or if you have questions about any part of the installation procedure. Electrical work can be risky and mistakes can be expensive.
Conclusion
Installing a dimmer switch is a great way to add functionality and ambiance to your home lighting. You can change your lighting from harsh and bright to gentle and restful with just a few easy steps. Just keep in mind to turn off the power before you begin and adhere to the instructions provided in this guide to guarantee a secure and efficient installation. You can quickly benefit from a dimmer switch with a small bit of work!
